I love making fruit pies. Actually, I love eating pies. And the quality of the crust is crucial. The wheat allergy thing has put a crimp in my pie dough making ways. Not only can I no longer eat it but I can tell that it is affecting the quality of the wheat flour pies I make for my family. Pastry making is not as forgiving as other kinds of cooking. The moisture content of flour can vary, the amount of humidity in the kitchen varies, and there are always little variations in measuring, depending on settling. I’ve relied on the “feel” of the dough while I am handling it as well as the texture of the dough when I cut into the pie after I slice it. This is helpful but not the same kind of feedback I get when I actually eat the pie. And don’t get me started on the moisture content of the fruit filling and what it does to the crust! I have also been working with gluten free pie crust recipes.
Here’s the thing, gluten does wonderful things to pie dough. Even so, I don’t like most wheat flour pie dough recipes! I also don’t like most of the crusts on the pies I eat. I had settled on a recipe a number of years ago and it had been a solid winner. Working with gluten free dough was almost like learning from square one. First, the dough is really brittle. It breaks easily. It has almost no elasticity. My first attempts were rather sad looking. Now if they had TASTED good, that would have been okay. But the first doughs cooked up like brick. Okay, I am not being entirely accurate. Actually, they tasted like bricks with delicious fruit topping.
Last October, I thought I was getting close. This week I did some more tinkering and I am happy to say that I liked the pie! You might think that I’ve put an awful lot of work and emotional energy into this. You’re probably right. It’s a little win to offset the inconvenience of my gluten free lifestyle. I have come to the conclusion in the last couple of months that the only way to manage the skin problems caused by my wheat allergy, is to avoid eating any food that I have not prepared myself. Think about what this means. Not fun. But here you go, the much promised pie dough recipe!!!
2 ¼ cups Namaste Perfect Flour Blend
2 tablespoons sugar 2 teaspoons xantham gum
½ tsp salt
1/8 tsp baking soda
2 tablespoons butter
½ cup canola oil
2 teaspoons baking powder
½ cup milk
1 tsp white vinegar
Directions
1. Mix 1 cup of the flour blend with ½ cup canola oil. Combine with a fork until well blended.
2. Heat butter in small saucepan on low until it’s nicely browned. (You can tell because it changes to a brown color and gives off an amazingly yummy fragrance).
3. Add the browned butter to the flour/oil mixture and combine. Put the bowl containing this mixture into the freezer for 20-30 minutes.
4. Combine the remaining 1 ¼ cup of flour with the sugar, xanthan gum, salt, baking soda, and baking powder. Add it to the semi-frozen mixture and cut it with a pastry blender until it is the consistency of coarsely ground cornmeal mixed with some bigger lumps, up to the size of a small pea.
5. Add the vinegar and milk about 1/8th of a cup at a time. Use the fork to help distribute it evenly but do not stir!!!! Once all the milk is in the bowl and the combination is evenly moist, more or less, form it into a ball with your hands. The dough might seem too wet. Be patient because once the xanthan gum does its magic, the dough will turn to a nice consistency. (This, by the way, is how I dried out the first dough but thinking that it was too moist and adding an extra cup of flour blend.)
6. Divide the ball into two parts. Roll each part between two sheets of waxed paper and use for one double crust or two single crust pies.
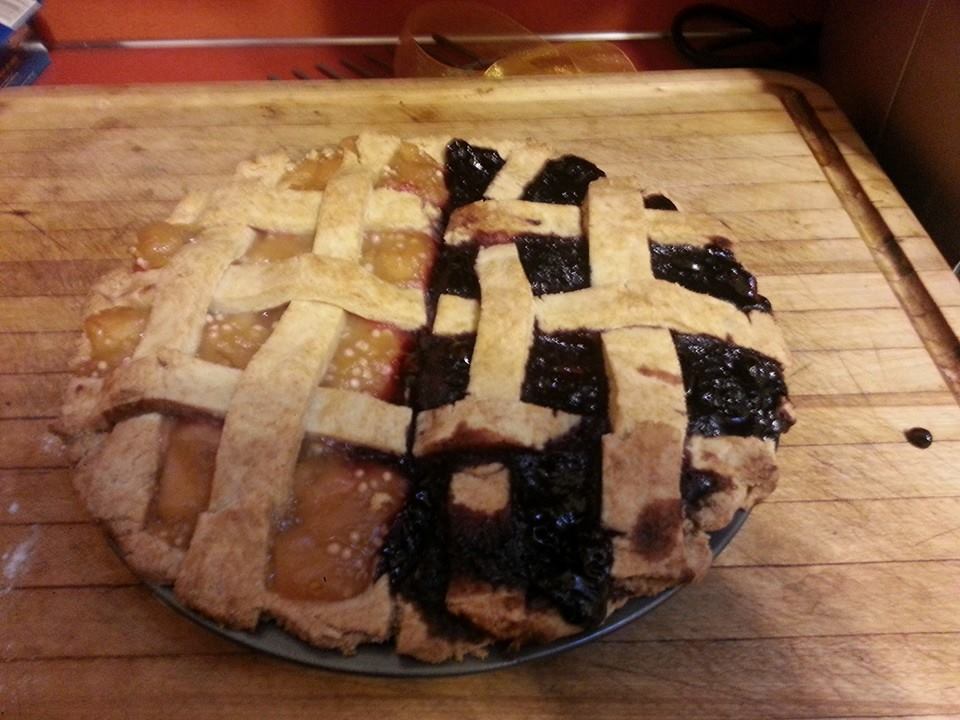
Note: I made a lattice crust this time but it broke a lot while I was making it. It is much easier to roll out a single crust for the top.